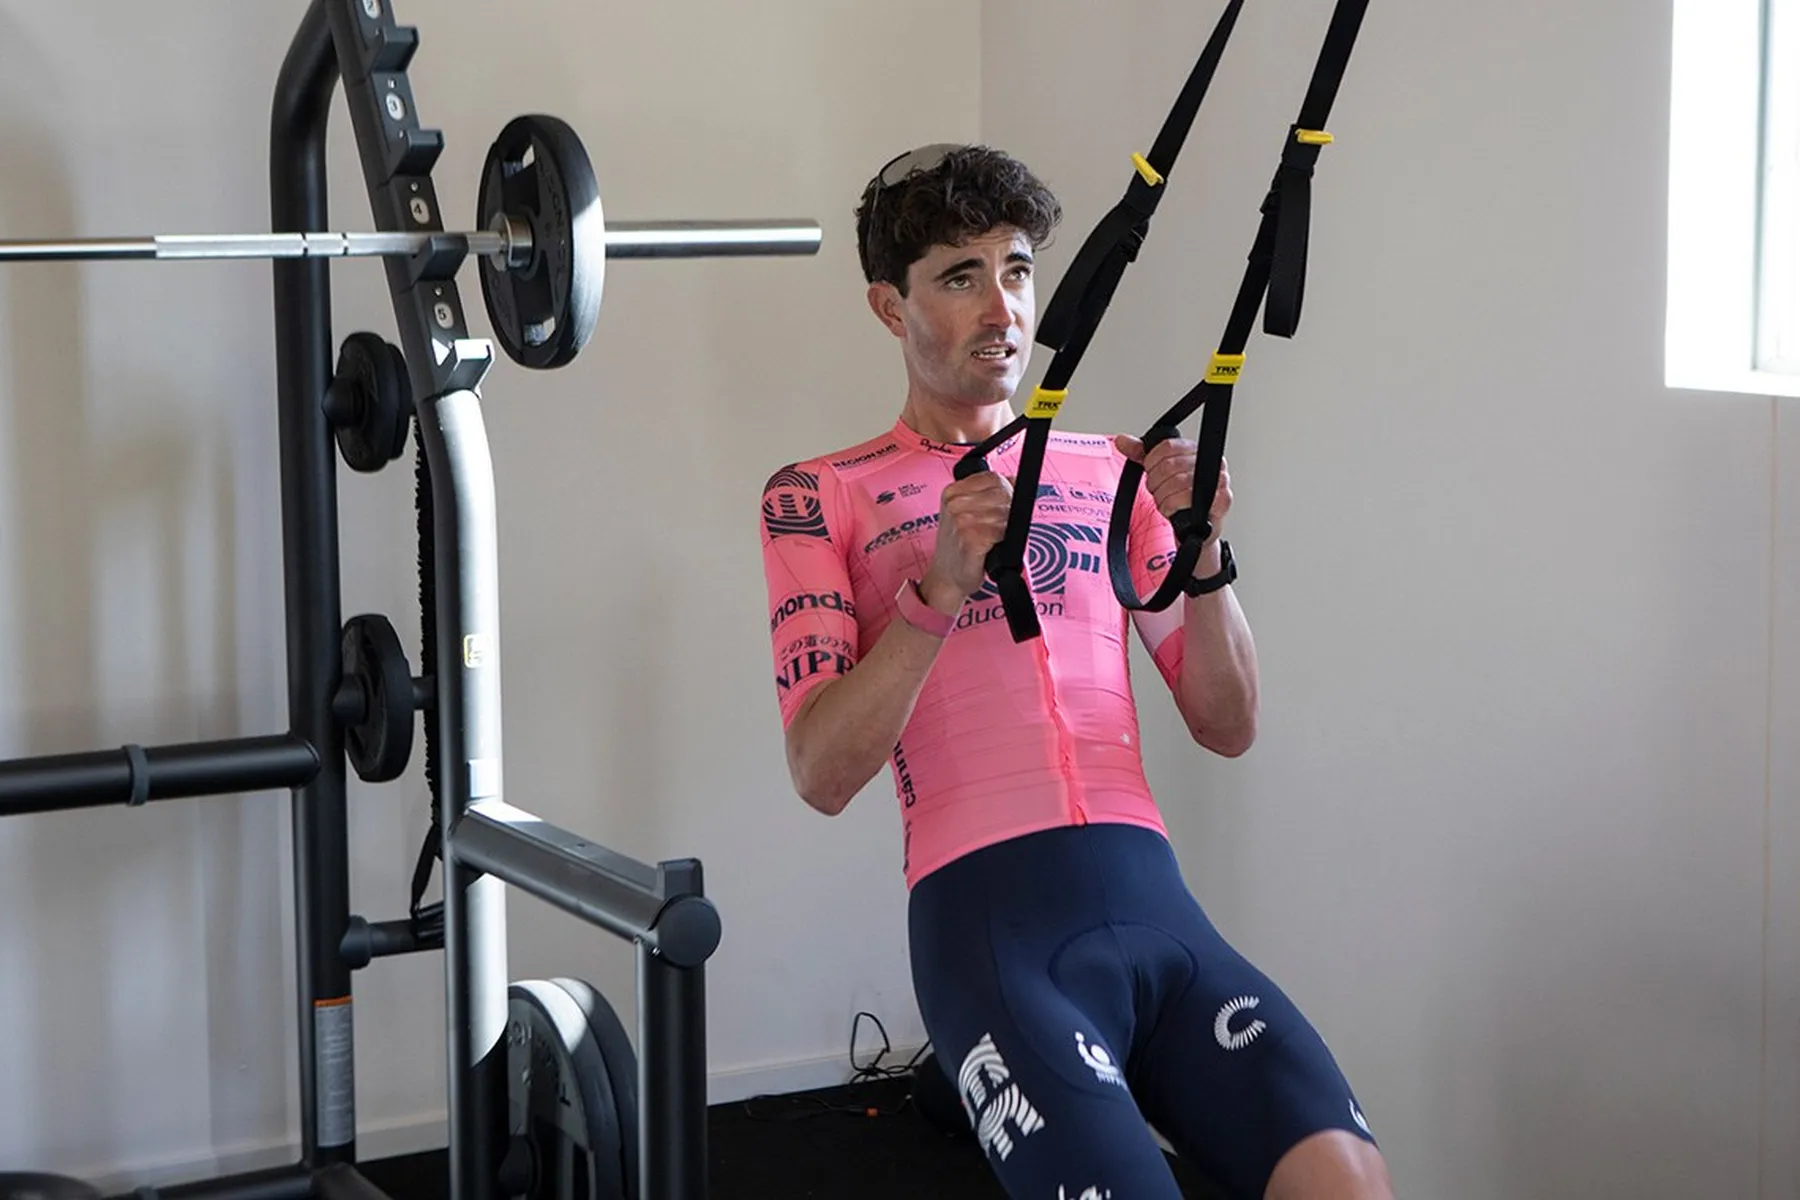
You have roughly 600 muscles in your body. One of them — the gluteus maximus — is the single largest, most powerful muscle you own. It is designed to extend the hip under load, which is precisely what happens during the power phase of every pedal stroke. It should be the headline act.
For most cyclists over 35, it is barely in the building.
That is not a guess. It is what shows up when you ask a cyclist who has been riding for fifteen years and sitting at a desk for twenty to lie on the floor and do a single-leg glute bridge. The hamstring cramps. The lower back arches. The glute — the muscle that was supposed to do the work — stays quiet. The body found a workaround years ago and never looked back.
This matters because the workaround costs watts. Your quads are good at extending the knee, but the hip extension that drives the pedal through the power phase from roughly one o'clock to five o'clock? That is glute territory. When the glute does not fire on time, the quad does extra work, the hamstring picks up the slack, the lower back braces harder than it should, and the total force that reaches the pedal is less than what the system could produce. You are pedalling with a partial engine.
The good news: the glute is not weak. It is asleep. And waking it up is one of the most reliable ways to find watts that were already in your legs but could not reach the crank.
Why Your Glutes Are Probably Not Doing Their Job
Three things conspire against cyclists' glutes, and most riders are dealing with all three simultaneously.
The desk. Sitting for six, eight, ten hours a day does something specific to the hip. The hip flexors stay shortened. The glutes stay lengthened. Over time, the nervous system adapts — it learns that the hip flexors are available and the glutes are not. This is what physiotherapists call reciprocal inhibition. Tight hip flexors actively suppress glute activation. It is not just that the glute is stretched and lazy. It is being told to stand down by the opposing muscle group.
Stuart McGill, the spine biomechanist, has written extensively about this pattern. The phrase he uses is "gluteal amnesia" — the muscle forgets how to fire on demand. Not because it is damaged. Because it has been trained out of the conversation.
Quad-dominant pedalling. Cycling rewards whatever pattern the body already has. If you arrive at the bike with suppressed glutes and overactive quads, the pedal stroke reinforces that. The down-stroke gets driven through knee extension rather than hip extension. You get strong at pedalling wrong. Years of this and the pattern is deeply wired.
Here is the thing most riders miss: you can have a good FTP and still be glute-inhibited. The quads are powerful enough to produce respectable numbers on their own. The problem only shows up when you ask for sustained power on climbs, when you try to hold watts at the end of a long ride, or when the lower back starts complaining after three hours. That is the compensation failing under load.
Age. After 35, the nervous system gets less plastic. Patterns that have been running for decades are harder to override. The neural pathway to the glute has been underused for so long that it takes deliberate, repetitive work to re-establish it. This is not about muscle mass — most masters cyclists have plenty of glute muscle. It is about the signal getting from the brain to the muscle at the right time in the pedal cycle.
Activation Versus Strength — Why the Order Matters
This is where most cyclists who try to fix the problem go wrong. They read that glutes are important, so they add glute exercises to their gym work. More loading, heavier resistance. But the glute still is not firing properly, so the added load gets handled by the muscles that were already compensating — quads, hamstrings, lower back. The dysfunction gets stronger.
Think of it like this. You would not turn up the volume on a speaker that is not plugged in. You plug it in first, check it is producing sound, then turn it up.
Activation is plugging the speaker in. It is low-load, high-attention work that re-establishes the neural connection between the brain and the glute. You are not building muscle. You are reminding the nervous system that this muscle exists, that it should fire during hip extension, and that it should fire before the hamstring and lower back take over.
Strength work comes after. Once the glute reliably activates — you can feel it contract on demand, you can do a single-leg bridge and feel the burn in the glute rather than everywhere else — then you start adding resistance. Activation before loading. Always.
Dr Andy Galpin, who has been on the podcast talking about fast-twitch fibre retention in masters athletes, makes a useful distinction here. He separates neuromuscular coordination from force production. Activation training is the first category. You are training the nerve, not the muscle. And the nerve responds to frequency, not intensity. Ten minutes a day beats one hard session a week.
The Diagnostic: Single-Leg Glute Bridge Test
Before you build a routine, you need to know where you stand. The single-leg glute bridge is the best self-diagnostic a cyclist has because it isolates the exact pattern that matters for the pedal stroke — unilateral hip extension.
How to do it. Lie on your back, knees bent, feet flat on the floor. Lift your left foot off the floor so the left knee points toward the ceiling. Drive your right hip up toward the ceiling using the right foot. Hold the top for two seconds. Lower slowly. Do five reps, then switch.
What to notice. Where do you feel the work? There are three possible answers, and only one is right.
Glute fires hard, hamstring assists. This is correct. The glute is the primary mover and the hamstring helps as it should. You feel a strong squeeze in the meaty part of the glute at the top of the movement.
Hamstring does most of the work, glute barely shows up. This is the most common result in desk-bound cyclists. The hamstring has been compensating for the inhibited glute and is now the dominant hip extensor. Often the hamstring will cramp before the glute even wakes up.
Lower back arches and takes over. This is the worst pattern. The lumbar erectors are extending the hip instead of the glute. This is the pattern that produces chronic lower back pain on long rides.
Do both sides. Most cyclists have one side that fires better than the other — usually the dominant leg. The weaker side is the one leaking power on the bike. It is also often the side where the knee tracks inward during hard efforts.
If either side gives you the hamstring or lower-back result, the activation routine is not optional. It is the prerequisite for any strength work or on-bike power gains.
The Pre-Ride Activation Routine: Ten Minutes That Change the Ride
This routine goes before every ride. Not after. Not in the evening. Before you clip in. The goal is to prime the neural pathway so the glutes are available from the first pedal stroke, not thirty kilometres in when they might eventually wake up on their own.
You need: floor space and optionally a light resistance mini-band. That is it.
Double-Leg Glute Bridges — 2 sets of 12
Lie on your back, feet flat, hip-width apart. Arms flat by your sides. Drive through your heels and lift the hips until your body forms a straight line from knees to shoulders.
The form cue that matters: squeeze the glutes hard at the top and hold for a full two-count before lowering. Most people rush this. The hold is where the activation happens. If you just pump up and down quickly, the hamstrings do the work.
The foot position fix: if you feel more hamstring than glute, move your feet two inches closer to your hips. A shorter lever shifts the emphasis onto the glute. If you feel lower back, you are hyperextending — stop when the hips are level with the knees, not higher.
Single-Leg Glute Bridges — 2 sets of 8 each side
Same movement, one leg at a time. The non-working leg stays bent with the knee pointing up, or extended straight if that is more comfortable for your lower back.
Start with the weaker side. The side that failed the diagnostic gets priority. Do the weaker side first when you are fresh and your attention is highest.
Tempo: two seconds up, two-second hold at the top, three seconds down. The slow eccentric (lowering phase) is where the neural connection gets reinforced most effectively. Do not rush the way down.
This is the single most important exercise in the routine. If you only have three minutes, do single-leg bridges and nothing else.
Clamshells — 2 sets of 15 each side
Lie on your side. Knees bent at roughly 90 degrees. Feet together. If using a mini-band, place it just above the knees.
Open the top knee like a clamshell, keeping the feet stacked. Hips stay absolutely still — no rolling backward. If the hip rolls, you are using momentum instead of the glute medius.
The form cue that matters: the range is smaller than you think. Most people open too wide and lose the glute contraction. You want to feel a firm burn in the upper outer portion of the glute. If you feel it in the front of the hip or the TFL (the small muscle just below the hip bone at the front), you have opened too far or rolled the pelvis. Reduce the range by a third and try again.
The glute medius controls hip stability on the bike. When it does not fire, the pelvis drops on each stroke, the knee collapses inward, and power leaks through the chain. Clamshells are the most direct way to wake it up.
Fire Hydrants — 2 sets of 10 each side
On hands and knees, hands under shoulders, knees under hips. Keeping the knee bent at 90 degrees, lift one knee out to the side. Like a dog at a fire hydrant — hence the name.
Tempo: lift slowly over two seconds, hold at the top for one second, lower over two seconds. The core stays locked. The lower back does not twist. If the opposite hip drops, you have gone too high.
Fire hydrants hit the glute medius from a different angle than clamshells and add a rotational stability demand through the core. Together, they cover the full job of the glute medius in cycling: holding the pelvis level and preventing the knee from caving inward under load.
Bird Dogs — 2 sets of 8 each side
On hands and knees. Extend the right arm forward and the left leg backward simultaneously. Hold for two seconds. Return to start. Switch sides.
The form cue that matters: imagine you have a glass of water balanced on your lower back. Nothing moves except the working arm and leg. The core holds position. The glute extends the hip — that is the activation piece. If the lower back arches as the leg extends, you have gone too far. Shorter range, more control.
Bird dogs bridge the gap between isolated glute work and the kind of integrated, cross-body stability that the bike demands. The glute fires while the opposite side of the core stabilises. This is exactly what happens during pedalling.
Total time for the full routine: eight to ten minutes once you know the movements. The first few sessions will take longer as you dial in the form cues and figure out where you feel each exercise. That learning phase is the point — you are rebuilding awareness of a muscle you have been ignoring.
Twice-Weekly Strength Exercises: Building on the Pattern
Once the activation routine is consistent and the single-leg bridge test gives you a clear glute-dominant result on both sides — usually two to three weeks in — you add two short strength sessions per week. These go on non-ride days or at least four hours before or after a ride.
The goal is not maximal load. The goal is to reinforce the activation pattern under slightly more demand than the floor drills provide. Everything stays bodyweight or light resistance band.
Hip Thrusts — 3 sets of 10
Back resting against a bench, sofa, or sturdy chair. Feet flat on the floor, hip-width apart. Drive through the heels and lift the hips until the torso is parallel with the floor. Squeeze hard at the top for a two-count.
Bodyweight first. No added load until you can do three sets of ten with a clear glute contraction at the top and no lower back involvement. Most cyclists need two to three weeks at bodyweight before this is clean.
Progression: wrap a light resistance band around the knees and push outward against it during the thrust. This adds a glute medius demand on top of the glute max extension. The combination mirrors the dual job the glutes do during the pedal stroke — extending the hip while stabilising it laterally.
Hip thrusts are the closest gym exercise to the hip extension pattern of the pedal stroke. Bret Contreras, who built his entire research career around this movement, has published EMG data showing that hip thrusts produce higher glute activation than almost any other exercise. For cyclists, they are the bridge between floor activation drills and on-bike power.
Step-Ups — 3 sets of 8 each side
Find a step, box, or stair that puts your working knee at roughly 90 degrees when your foot is on it. Place one foot on the step. Drive up through the heel. The trailing leg should contribute as little as possible — resist the urge to push off with the back foot.
Tempo: two seconds up, pause at the top with the standing leg fully extended, three seconds down. Control the descent. If you drop quickly, the quad is catching you. If you lower slowly, the glute is doing eccentric work that transfers directly to the deceleration phase of the pedal stroke.
Progression: hold a light dumbbell or a water bottle in each hand. Or slow the tempo further — four seconds up, four seconds down. Tempo manipulation is safer and more effective for cyclists than adding heavy weight.
Step-ups are unilateral, which means they expose and correct the side-to-side imbalance that most cyclists carry. They also demand the kind of single-leg balance and hip stability that the pedal stroke requires at high cadence.
Lateral Band Walks — 3 sets of 10 steps each direction
Mini-band around the legs just above the knees. Slight bend in the knees, hips pushed back slightly. Walk sideways, maintaining tension on the band throughout. The feet never come together — keep constant band stretch.
The form cue that matters: the knees track over the toes at all times. The most common error is letting the leading knee push out while the trailing knee collapses in. Both knees stay aligned. This is what teaches the glute medius to stabilise under dynamic movement, which is its exact job during pedalling.
Progression: move the band down to just above the ankles. Longer lever, more demand. Or add a pause — step out, hold for two seconds, then bring the trail leg in.
A Sample Twice-Weekly Session
This takes fifteen to twenty minutes:
- Hip thrusts — 3 x 10 (two-second hold at top)
- Step-ups — 3 x 8 each side (slow tempo)
- Lateral band walks — 3 x 10 each direction
- Single-leg glute bridges — 2 x 8 each side (as a finisher)
Rest sixty to ninety seconds between sets. The effort should feel moderate — a six or seven out of ten. If you are grinding through the last reps, the compensatory muscles are taking over and you are reinforcing the wrong pattern. Drop the reps or slow down.
The On-Bike Connection: What Changes When Your Glutes Fire Properly
This is the part that makes the floor work worth it. When the glutes start contributing to the pedal stroke the way they are supposed to, you notice it in specific, measurable ways.
Seated climbing power. The biggest change. The power phase of the pedal stroke — roughly from one o'clock to five o'clock — is driven by hip extension. When the glute fires properly, you push through a fuller arc of that phase. The stroke feels longer and more connected. Riders consistently describe it as "finding a gear they did not know they had." The W/kg calculator will show the difference if you compare climbing efforts before and after a six-week activation block.
Reduced need to stand. Standing on a climb shifts the effort to a different muscle group and gives the seated system a rest. But if you are standing because the seated position runs out of power, that is a glute problem. A properly firing glute lets you sustain seated climbing power longer before the standing bailout is needed. That is more efficient and less fatiguing over a long ride.
Hip stability at high cadence. Cadence above 90 rpm demands rapid glute firing. If the glute is slow to activate, the pelvis bounces, the saddle contact becomes unstable, and power drops. A glute medius that fires on time holds the pelvis level at high cadence, which is why riders who do this work often find their natural cadence shifts upward — they can spin faster without losing control.
Late-ride power retention. The quads fatigue faster than the glutes because they are a smaller muscle doing a bigger job. When the glutes share the load properly, the quads last longer. You will notice this after three hours — the point in a long ride where the legs used to go hollow. With proper glute contribution, the power drop-off flattens.
Lower back relief. The chronic dull ache across the lower back after long rides — the one you have been blaming on saddle position or core strength — is often the lumbar erectors compensating for inactive glutes. When the glutes take over hip extension, the lower back load drops and the ache fades. Not always completely. But noticeably.
Programming It Into Your Week
The system is simple. Do not overcomplicate it.
Before every ride: the ten-minute activation routine. Bridges, clamshells, fire hydrants, bird dogs. This is non-negotiable for the first four weeks. After the pattern is established, you can do a shortened version — single-leg bridges and a set of band walks — on easy ride days and keep the full routine for hard sessions and long rides.
Twice per week on non-ride days (or at least four hours separated from riding): the fifteen-minute strength session. Hip thrusts, step-ups, lateral band walks, single-leg bridges as a finisher.
When to skip: full rest days where you are not riding, you can skip the activation routine. Recovery days with a very easy spin, you can skip or shorten it. The key insight is that the activation routine is for the ride that follows. It is not a workout. It is a switch you flip before the ride starts.
When not to skip: before any threshold session, any interval session, any long ride, and any ride with significant climbing. These are the sessions where glute contribution makes the biggest difference and where quad-dominant pedalling costs the most watts.
A typical week might look like this:
- Monday: Rest. No activation, no strength.
- Tuesday: Pre-ride activation (10 min) + interval session on the bike.
- Wednesday: Strength session (15 min). No ride or easy recovery spin later.
- Thursday: Pre-ride activation (10 min) + tempo or endurance ride.
- Friday: Strength session (15 min). No ride or easy recovery spin.
- Saturday: Pre-ride activation (10 min) + long weekend ride.
- Sunday: Short pre-ride activation (5 min) + easy group ride.
That is thirty-five to forty minutes of off-bike glute work across the week. It does not need a gym. It does not need equipment beyond a mini-band. It fits around any training plan without disrupting ride quality.
Common Mistakes That Stall Progress
These are the patterns I see most often in riders who try this work and give up before it pays off.
Going too heavy too fast. The instinct is to add load once the activation routine feels easy. Resist it. "Easy" means the neural pattern is working — that is the goal. When you add resistance, keep it light. A mini-band. Bodyweight hip thrusts. Slow step-ups. The moment you load heavy enough that the glute stops being the primary mover, you have undone the pattern you just built. This work is about the nerve, not the muscle.
Skipping activation and going straight to loading. Doing hip thrusts without the activation routine first is like trying to use that unplugged speaker again. The glute is not warmed up, the neural pathway is not primed, and the stronger muscles — quads, hamstrings — take over the exercise. Always activate first, then load.
Inconsistency. This is the big one. The neuromuscular pattern needs frequent reinforcement, especially in the early weeks. Ten minutes five times a week will produce results. Ten minutes once a week will not. The brain builds and reinforces pathways through repetition. Skip a week and the old pattern reasserts itself. The riders who make this work are the ones who treat the activation routine like brushing their teeth — it just happens before every ride, no negotiation.
Doing the exercises too fast. Speed hides dysfunction. If you blast through twelve glute bridges in fifteen seconds, the hamstrings and momentum do most of the work. Slow down. Two seconds up, hold, three seconds down. The quality of each rep matters more than the total number. If you finish a set and the glute is not burning, you went too fast.
Only training the strong side. Most cyclists have a dominant glute and a sleepy one. The natural tendency is to notice the strong side improving and assume the weak side is following. It is not. The weak side needs more volume, not equal volume. Add an extra set on the weak side. Start every exercise with the weak side. Give it more attention than feels proportional.
Expecting instant results. The neural adaptation takes two to three weeks of daily work before you feel it on the bike. The structural adaptation — the glute actually contributing more force per pedal stroke under fatigue — takes six to eight weeks. If you quit after ten days because your FTP has not moved, you have missed the window where the real change happens.
What This Looks Like at Six Weeks
Six weeks of consistent activation and twice-weekly strength work, and here is what a typical rider reports:
The first climb of every ride feels stronger. The seated power that used to run out after two minutes of a steep gradient lasts longer. The lower back stops being the first thing that complains after three hours. The knee that twinged on hard efforts stops twinging. The natural cadence shifts up by three to five rpm because the hips are more stable at speed. The standing pedal stroke feels like it has a snap it did not have before.
None of that required a new bike, a new wheel set, a higher FTP test, or a gym membership. It required ten minutes a day of floor work with a mini-band, done before riding, done consistently.
The glute was always there. It just needed someone to plug it back in and turn it on.
If you have questions about integrating this with your specific training, or you want form checks from riders who have been through this process, the Roadman community on Skool is where that conversation happens daily.