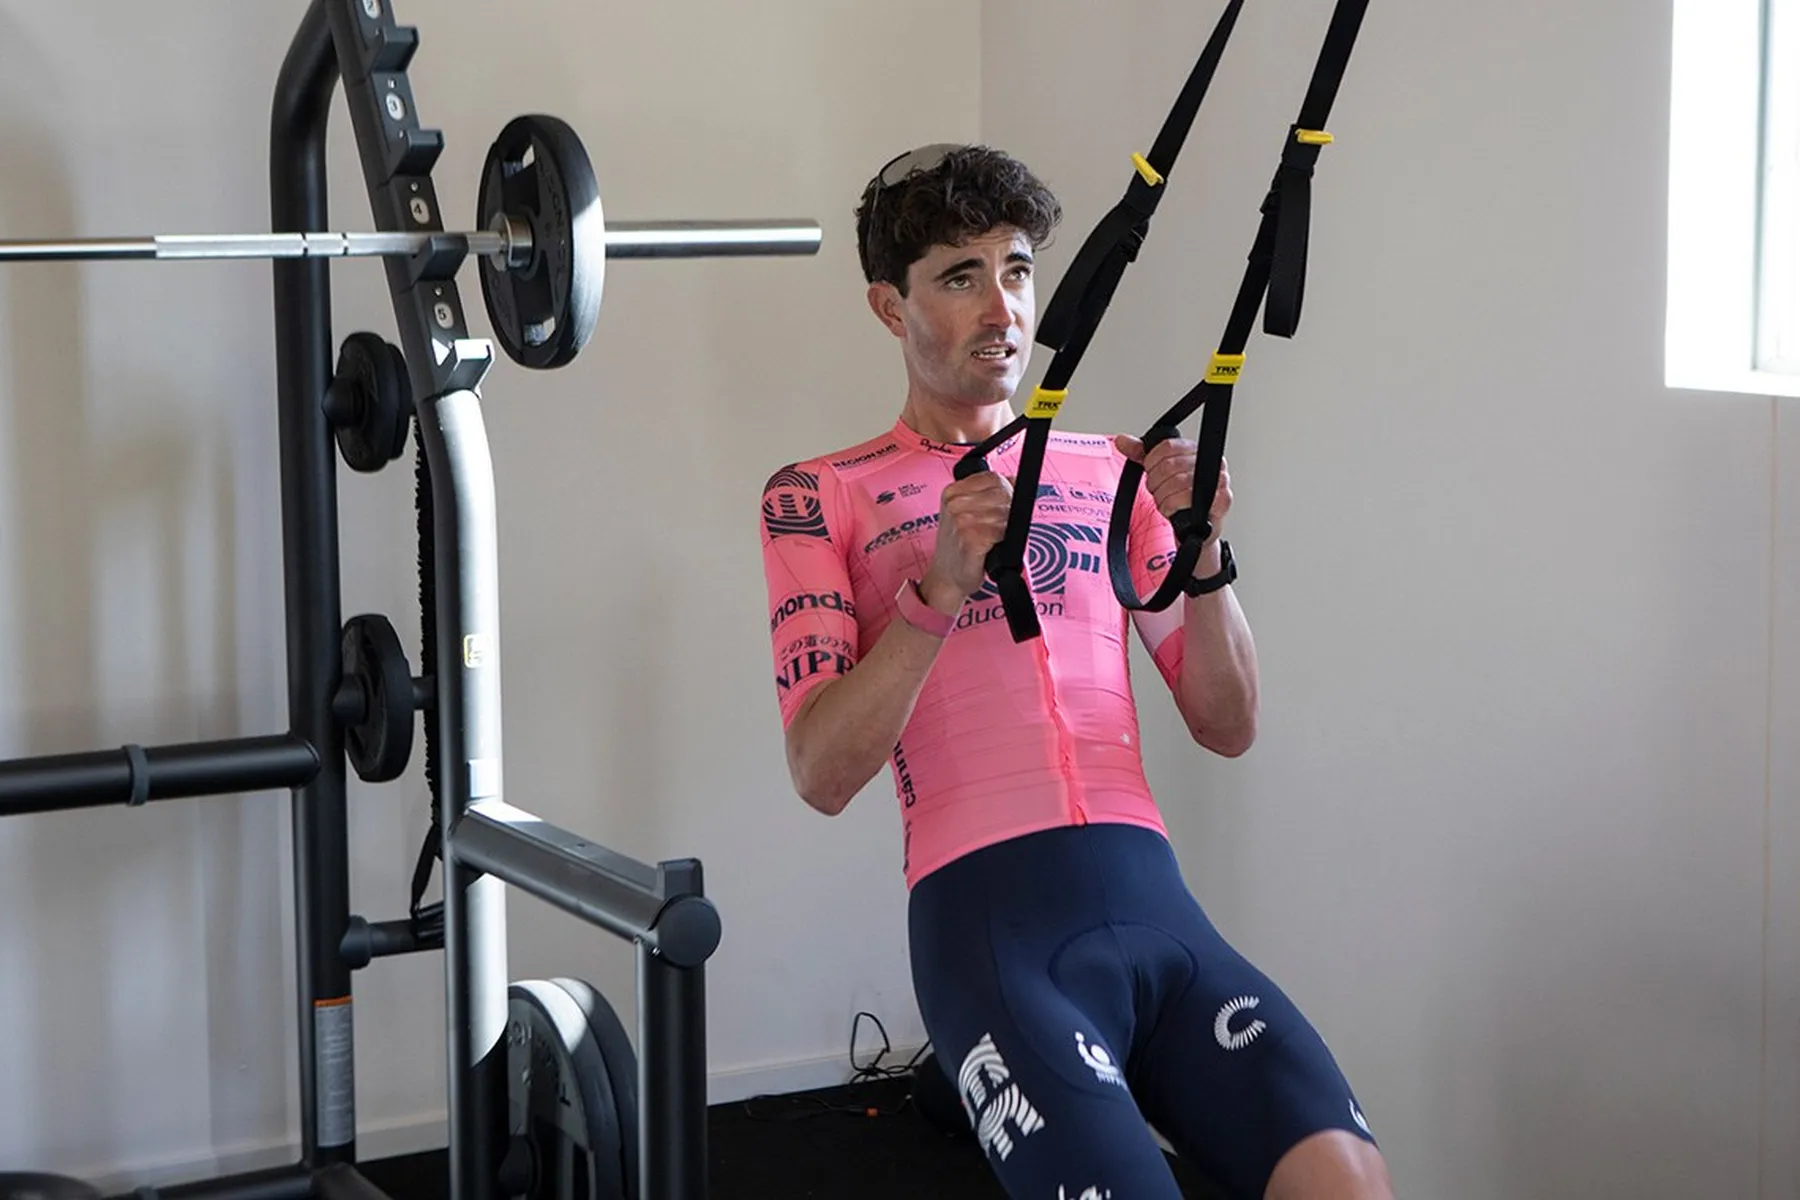
Watch a cyclist in any gym. Odds are they're on the leg press, pressing both feet into the plate at the same time. Or sitting on a leg extension machine, grinding out reps with both quads firing together. Maybe they've been told to add some squats, so they're doing goblet squats — again, both feet planted, both legs sharing the load.
None of this is wrong, exactly. But it misses the point.
Cycling is a single-leg sport. Every pedal stroke is one leg pushing through a power phase while the other recovers. Left, right, left, right — thousands of times per hour, for every hour you ride. Your legs never push together. They never share the load simultaneously. Each one works independently, producing force through its own range of motion, with its own strength, its own coordination, its own limitations.
So here's the thing nobody tells you when they hand you a gym programme: the exercises that transfer best to the bike are the ones that train one leg at a time. Not because bilateral work is useless. Because unilateral work is more specific, more diagnostic, and more honest about what's happening underneath your pedal stroke.
Why Unilateral Beats Bilateral for Cyclists
The specificity principle is the most important concept in exercise science that most amateur athletes ignore. It states, simply, that the adaptation you get is specific to the stimulus you apply. Train two legs together, and you get better at using two legs together. Train one leg at a time, and you get better at producing force on one leg — which is what cycling demands.
Each pedal stroke involves roughly 110 degrees of knee extension, starting with the hip flexed and the knee bent at the top of the stroke, driving down through the power phase as the hip extends and the knee straightens. That single-leg push happens under load, on an unstable platform (you're balanced on a narrow saddle), while your core holds everything together. The other leg is doing nothing useful during that phase — it's recovering, coming back around for its own turn.
Bilateral exercises train both legs to produce force simultaneously against a shared load. Your stronger leg compensates for your weaker one. Your dominant hip stabilisers cover for the ones that are underperforming. Everything averages out, and the result looks fine. You press the weight, you move the bar, you tick the box.
Single-leg exercises remove the safety net. Each leg must produce force, stabilise the hip, control the knee, and maintain balance entirely on its own. There is nowhere to hide. And that is precisely what the pedal stroke demands.
Derek Teel, the S&C coach who has been on the podcast multiple times and who works with cyclists from recreational to elite level, programmes at least 50% of lower-body gym volume as single-leg work. His reasoning is straightforward: if the sport is unilateral, the training should be unilateral. The bilateral stuff has its place — for loading capacity, for total force production — but the transfer to the bike comes from the single-leg patterns.
The research supports this. Studies examining the force-velocity relationship in cycling show that each leg contributes independently to total power output, and that bilateral strength measurements are poor predictors of single-leg cycling performance. Your ability to press 120 kg on a leg press tells us almost nothing about how much power your left leg produces at the bottom of a 20-minute climb when you're fatigued and your hip is starting to drop.
The Imbalance You Cannot See
Here's a number that surprises most cyclists: the average left-right power imbalance in recreational riders sits between 3% and 8%. That means your dominant leg might be producing 52-54% of your total power, and your weaker leg 46-48%. Some riders have imbalances north of 10%.
You don't notice this while riding. The bike doesn't care. It adds up left and right and gives you a total power number. Your Garmin shows 250 watts and you feel good about it. What it doesn't show is that your right leg produced 135 watts and your left produced 115. That 20-watt gap is doing things to your body that you won't feel for months — until your knee starts aching on the weaker side, or your hip tightens up on the strong side, or your lower back starts complaining because your pelvis is rocking slightly with every stroke to compensate.
Bilateral strength work does nothing to reveal this. You can press two legs into a machine with perfect symmetry in the movement and have a 15% strength difference between them. The machine doesn't know. You don't know.
Single-leg exercises know immediately.
The first time you do a set of bodyweight Bulgarian split squats — 10 per leg, slow and controlled — you will feel the difference. One side will be shakier. One side will have less control at the bottom. One side might show knee collapse, where the knee drifts inward as you push up. These are not weaknesses you need a lab to diagnose. They're visible in a mirror, and they tell you exactly where your pedal stroke is leaking power and creating injury risk.
Art O'Connor, who has been on the podcast discussing lower-body assessment for cyclists, emphasises that left-right asymmetry is one of the most common and most correctable issues in the riders he sees. Single-leg strength work is the primary tool he uses to address it. Not stretching. Not foam rolling. Strength work that forces each leg to do its own job.
Exercise 1: The Bulgarian Split Squat
If I could prescribe one exercise to every cyclist over 40 and nothing else, it would be the bodyweight Bulgarian split squat. It trains quads, glutes, and hip stabilisers through a range of motion that mirrors the pedal stroke. It challenges balance and proprioception. It exposes left-right differences within the first set. And it requires nothing but a sofa, a chair, or a park bench.
Setup: Stand about two feet in front of a knee-height surface — a sofa arm, a sturdy chair, the edge of your bed. Place the top of one foot on the surface behind you, laces down. Your front foot should be far enough forward that when you lower, your knee tracks over your toes without pushing past them. Hands on hips, chest up, eyes forward.
The movement: Lower your back knee straight down towards the floor, bending both knees until your front thigh is roughly parallel to the ground. Your front shin should stay close to vertical. Drive up through your front heel and midfoot, squeezing the glute at the top. That's one rep.
Form cues that matter:
- Keep your torso upright. The moment you lean forward, you shift the load off the front-leg glute and onto the lower back. Stay tall.
- Watch your front knee. It should track in line with your second toe. If it collapses inward, your hip stabilisers are weak — which is exactly the information you need. Actively push the knee outward over the little toe.
- Control the descent. Three seconds down, pause at the bottom, drive up with intent. If you're bouncing out of the bottom, you're using momentum, not muscle.
- Keep the back leg relaxed. It's there for balance, not for pushing. All the work should come from the front leg.
Progression:
- Weeks 1-4: Bodyweight only. 3 sets of 8-10 per leg. Rest 60-90 seconds between sets. This will be harder than you expect. Respect it.
- Weeks 5-8: Bodyweight, 3 sets of 12-15 per leg. Slow tempo — 3 seconds down, 1 second pause, 2 seconds up.
- Weeks 9+: Add light dumbbells, 4-8 kg per hand, held at your sides. 3 sets of 10-12 per leg.
Common mistakes: Standing too close to the bench (turns it into a quad-dominant lunge with excessive knee travel). Rushing the reps (eliminates the stability demand that makes this exercise valuable). Loading too heavy too soon (this is not a strength competition — it's a movement pattern with a balance challenge built in).
Exercise 2: The Step-Up
The step-up is the closest you will get to replicating the power phase of the pedal stroke outside of a bike. The hip and knee angles at the start of a step-up onto a 30-40 cm box match the top of the pedal stroke almost exactly. The single-leg drive upward mirrors the force application through the power phase. And the balance demand at the top — standing on one leg on a raised surface — trains the proprioceptive control that keeps you stable in the saddle when fatigue sets in.
Setup: Find a sturdy step, box, or bench that puts your thigh roughly parallel to the floor when your foot is on top of it. For most people, that's 30-40 cm. A standard staircase step is too low; two steps stacked or a park bench works well.
The movement: Place one foot fully on the box — whole foot, heel included, not just toes. Drive up through that foot until you're standing tall on top of the box. The trailing leg should come up and hang freely — don't tap it on the box, don't use it to push off the floor. Pause at the top for a second. Lower back down under control by sitting the hip back slowly. The trailing foot touches the floor, and you go again.
Form cues that matter:
- No push-off from the bottom foot. This is the most common cheat. The back foot should leave the floor passively. If you need to push off, the box is too high or you're not strong enough yet — drop the height.
- Drive through the heel of the working leg. Not the toes. The heel. This engages the glutes properly and reduces stress on the knee.
- Stand fully tall at the top. Lock the hip out, squeeze the glute. Don't shortchange the range by stopping when your hips are still bent.
- Keep the movement slow and deliberate. This is not a conditioning exercise. Cadence should be roughly one rep every 3-4 seconds. Controlled up, pause, controlled down.
Programming: 3 sets of 10-12 per leg. Bodyweight to start. Add light dumbbells (5-8 kg per hand) when bodyweight feels comfortable and controlled. Rest 60-90 seconds between sets.
Why cyclists benefit specifically: The step-up trains the glute-quad force couple through the exact range that produces power on the bike. It also demands single-leg balance under load, which is what your body does for hours during a ride — holding position on one side of the pedal stroke while the other leg comes around. Riders who do consistent step-up work report feeling more stable in the saddle, particularly during hard efforts when form tends to break down.
Exercise 3: Single-Leg Romanian Deadlift
The posterior chain — hamstrings, glutes, lower back — drives the top of the pedal stroke and stabilises your pelvis throughout every revolution. Most cyclists have an anterior-dominant pattern: strong quads, underdeveloped hamstrings and glutes. The single-leg Romanian deadlift addresses this directly while adding a balance and hip-stability challenge that no bilateral hinge can match.
Setup: Stand on one leg, knee slightly bent (not locked). Hold a light dumbbell (3-6 kg) in the hand opposite to the standing leg. Or use no weight at all — bodyweight is surprisingly challenging when done properly.
The movement: Hinge at the hip, sending your free leg straight back behind you as your torso tips forward. Think of your body as a seesaw — as your trunk goes down, the back leg goes up. Lower until you feel a stretch in the hamstring of the standing leg, or until your torso is roughly parallel to the floor. Your back should stay flat, not rounded. Drive back up by squeezing the glute of the standing leg, pulling yourself back to standing. Control it. Don't swing.
Form cues that matter:
- Hinge, don't bend. This is a hip hinge, not a forward lean. Your spine stays neutral. The movement comes from the hip folding.
- Square hips. The most common error is the hip of the free leg rotating open. Imagine you have a headlight on each hip bone — keep both pointing straight ahead at the floor.
- Soft knee. The standing leg should have a slight bend — enough to unlock the joint, not enough to turn it into a squat. The stretch should be in the hamstring, not the back of the knee.
- Slow down. Three seconds down, pause, two seconds up. If you can do these quickly, you're not doing them well.
Programming: 3 sets of 8-10 per leg. Start with bodyweight or a single light dumbbell (3-5 kg). Progress to 6-10 kg only when balance and form are solid. Rest 60-90 seconds between sets.
Why it matters for cyclists: Hamstring strength deficits are a leading contributor to knee pain in cyclists, because the hamstrings co-contract with the quads to stabilise the knee during the pedal stroke. When they're weak relative to the quads — and in cyclists, they almost always are — the knee tracking suffers. The single-leg RDL builds hamstring strength through length (eccentric loading), which is protective for both hamstring injuries and knee pain.
Exercise 4: Single-Leg Calf Raises
The most overlooked muscle group in cycling strength work. Your calves transmit every watt of power from your leg through your foot and into the pedal. They also stabilise your ankle joint through thousands of revolutions. And your Achilles tendon — the largest tendon in your body — is under repetitive load for every minute you ride.
After 40, Achilles issues become increasingly common in cyclists. Not dramatic ruptures, but slow-onset stiffness, morning tenderness, and a vague ache that never quite goes away. Single-leg calf raises with an eccentric emphasis are the single best preventive measure.
Setup: Stand on the edge of a step or stair, ball of one foot on the edge, heel hanging off. Hold a wall or railing for balance — this is a calf exercise, not a balance test.
The movement: Rise up onto the ball of your foot as high as you can. Squeeze at the top. Then lower — slowly — dropping your heel below the level of the step. Three seconds up. Five seconds down. The slow lowering phase (eccentric) is the bit that matters most. It loads the Achilles tendon under lengthening conditions, which is the stimulus that builds tendon resilience.
Form cues that matter:
- Full range. All the way up, all the way down. Partial reps don't load the tendon through its full capacity.
- Slow eccentrics. The five-second lowering phase is non-negotiable. If you're dropping your heel quickly, you're missing the primary benefit.
- Straight knee vs bent knee. Doing these with a straight knee targets the gastrocnemius (the big outer calf muscle). Doing them with a slightly bent knee shifts emphasis to the soleus (the deeper calf muscle under the gastroc). Both matter. Alternate sets: one set straight-knee, one set slightly bent.
- Use both feet to return to the start position if needed. If single-leg calf raises to failure on the way down are too aggressive initially, push up on two feet and lower on one. This gives you the eccentric load without the concentric demand.
Programming: 3 sets of 12-15 per leg. Bodyweight only — there is no need to add weight to calf raises. The eccentric tempo provides all the stimulus you need. Rest 60 seconds between sets.
The Balance and Stability Bonus
Single-leg exercises do something bilateral movements cannot: they expose weaknesses in hip stability. Specifically, the gluteus medius and the deep hip external rotators — the small muscles that prevent your pelvis from dropping and your knee from collapsing inward when you're standing on one leg.
On the bike, you don't notice when these muscles underperform. The saddle supports your pelvis. The cleats hold your feet in place. The fixed movement path of the cranks keeps your knees roughly on track. Everything looks fine — until it doesn't. Until the IT band starts complaining because your hip drops slightly with every stroke. Until your knee aches because it's tracking inward under load. Until your lower back tightens up because your pelvis is rocking side to side as you push power.
Do a single-leg squat in front of a mirror. If your knee dives inward, your glute medius is not doing its job. If your opposite hip drops, your lateral stability is compromised. If your trunk leans to one side, your whole system is compensating for a weakness at the hip.
These are not abstract movement-screen findings. They are the exact mechanical faults that cause the three most common lower-body injuries in cyclists: IT band syndrome, patellofemoral pain, and hip bursitis. And they are fixable. Not with stretching, not with foam rolling — with progressive single-leg strength work that forces those muscles to activate and get stronger.
The proprioceptive benefits compound over time. Your ability to stabilise on one leg, maintain knee tracking, and control your pelvis translates directly to what happens at the pedal. Better stability means less wasted movement, which means more of your force goes into the cranks and less gets lost in lateral wobble. It's not a huge number — maybe 2-3% — but over four hours and 20,000 pedal strokes, those percentages add up.
Pistol Squat Progressions (If You Want Them)
The pistol squat — a full squat on one leg with the other leg extended in front of you — is the gold standard of single-leg strength and balance. It demands ankle mobility, hip flexibility, quad strength, and proprioceptive control simultaneously. It looks impressive. And for cyclists, it is entirely optional.
I include it here because some of you will want it. You'll see someone doing pistol squats in a gym or on Instagram and think: I want that. Fair enough. It's a worthy movement goal, and the process of getting there will build useful qualities along the way. But be clear: you do not need pistol squats to ride well. If you can do 3 sets of 12 bodyweight Bulgarian split squats per leg with solid form and no knee collapse, you have more than enough single-leg strength for any cycling event.
If you want to pursue it, here's the progression:
Stage 1 — Assisted pistol squat. Hold a door frame, a suspension trainer (TRX), or a sturdy piece of furniture. Lower into a single-leg squat as deep as you can go, using your arms for balance and light support. The back leg extends in front. Use the support to help you stand back up. 3 sets of 5-8 per leg. This stage might last weeks or months.
Stage 2 — Box pistol squat. Sit down onto a bench or chair from a single-leg stance, then stand back up. Start with a high surface and progressively lower it over weeks. The sitting down is the hard part — the concentric drive is easier because you set your base at the bottom. 3 sets of 5-8 per leg.
Stage 3 — Counterbalanced pistol squat. Hold a light weight (2-5 kg) in front of your chest with straight arms. The weight acts as a counterbalance, making the bottom position of the squat more accessible by shifting your centre of mass forward. This is a useful trick — the weight makes it easier, not harder. 3 sets of 3-5 per leg.
Stage 4 — Full pistol squat. Bodyweight only, no support, full depth. If you get here, your single-leg strength and mobility are exceptional. 3 sets of 3-5 per leg is plenty.
Timeline: Most cyclists take 3-6 months to progress from stage 1 to stage 4. There is no rush. This is a side project, not a cycling priority.
The Programme: 20 Minutes, Twice a Week
Here's everything assembled into a routine you can do at home, in a gym, or in a hotel room. No machines required. A chair, a step, and optionally a pair of light dumbbells.
Schedule: Twice a week. Not the day before a hard ride or race. Easy days or rest days are ideal. Morning or evening — doesn't matter.
Warm-up (2 minutes):
- 20 bodyweight squats, slow and controlled
- 10 leg swings each leg (forward and back)
- 10 lateral leg swings each leg (side to side)
Exercise 1 — Bulgarian split squat: 3 sets of 10-12 per leg. Bodyweight or light dumbbells. 3-second descent, pause at bottom, controlled ascent. Rest 60-90 seconds between sets.
Exercise 2 — Step-up: 3 sets of 10-12 per leg. 30-40 cm box or step. Bodyweight or light dumbbells. No push-off from the trailing foot. Rest 60-90 seconds.
Exercise 3 — Single-leg Romanian deadlift: 3 sets of 8-10 per leg. Bodyweight or single light dumbbell (3-8 kg). Slow hinge, square hips, flat back. Rest 60-90 seconds.
Exercise 4 — Single-leg calf raise: 3 sets of 12-15 per leg. Edge of a step. 3-second rise, 5-second lower. Alternate straight-knee and bent-knee sets. Rest 60 seconds.
Total time: 18-22 minutes, depending on rest periods.
Progression logic:
- Weeks 1-4: Bodyweight everything. Learn the movements. Get the form right. Feel which leg is weaker.
- Weeks 5-8: Add tempo — slower eccentrics, pauses at the bottom. Increase reps to the top of each range.
- Weeks 9-12: Add light dumbbells to split squats and step-ups (4-8 kg per hand). Maintain bodyweight for RDLs and calf raises unless form is excellent.
- Beyond week 12: Maintain. This is not a programme you graduate from. It is maintenance work that keeps you riding without pain. Two sessions a week, every week, for as long as you ride bikes.
The key principle: consistency over intensity. Two sessions every week for a year will do more for your cycling than a six-week blitz of four sessions a week followed by nothing. The adaptations you're building — hip stability, tendon resilience, left-right balance — require regular stimulus. They don't respond to occasional bursts of motivation.
This is not a gym session. It's 20 minutes of focused maintenance work that addresses every movement pattern your pedal stroke demands. It keeps your hips stable, your knees tracking straight, your calves resilient, and your left and right legs accountable to each other. It is the minimum effective dose of single-leg strength work for a cyclist who wants to keep riding without breaking down.
If you're doing nothing off the bike right now, start here. If you're doing bilateral gym work, keep it — but add this. The transfer to the bike is immediate and noticeable. Within four weeks, you'll feel more stable in the saddle. Within eight, you'll notice that your weaker leg is catching up. Within twelve, the aches and niggles that you've been attributing to age will have quietened down. Not because age doesn't matter. Because your body was never weak from age — it was weak from asymmetry, instability, and a training pattern that never asked each leg to stand on its own.
Do the work. Twenty minutes. Twice a week. Your legs will tell you the truth about themselves, and then they'll get better. If you want structured training guidance and a community of riders who are figuring this out together, the Roadman community on Skool is where we do it.