Reviewed for accuracy: This article builds on the anti-movement principles of cycling-specific core training, extended into progression. It assumes you can already perform the foundation movements — dead bug, Pallof press, bird dog, side plank — with control. If you can't yet, start with the 15-minute foundation routine first.
Here's a test. Can you hold a plank for two minutes? A lot of cyclists can. Now answer this honestly: in the final hour of a hard sportive, does your form still hold, or do your shoulders creep up, your hips start rocking, and your lower back start complaining?
For most riders, the answer to both is yes. They can hold a long plank and they fall apart late in a ride. Which tells you something important: the plank, on its own, isn't training the thing that fails.
The plank is a brilliant starting point. It teaches the body to brace, to resist extension, to hold the trunk rigid with no spinal load. We recommend it, and the foundation core routine is built around exactly these movements. But a foundation is something you build on. The cyclist who's been holding the same plank for six months and adding fifteen seconds to it each time isn't progressing. They're just getting better at holding a plank — a skill with a ceiling, and one that stops transferring to the bike well before that ceiling is reached.
This is what comes next.
Why the plank plateaus
An isometric hold works the same way every other strength stimulus does: the body adapts to it, and once it has, the stimulus has to change or progress stops. When you first held a 30-second plank it was hard, your core adapted, and it got easier. Adding time keeps it slightly hard, but you're no longer building strength — you're building muscular endurance at a low intensity, which is a fine quality and a finished one. A two-minute plank and a four-minute plank don't make you meaningfully more stable on the bike. They make you better at planking.
The second problem is specificity. A plank is a static, prone, single-plane hold. Cycling is none of those things. On the bike you're upright or hinged forward, your limbs are moving constantly, and the dominant demand isn't resisting extension — it's resisting rotation. Every pedal stroke drives one leg down and lifts the other, and that asymmetry sends a twisting force through your pelvis. Your core's actual job, hour after hour, is to refuse that twist. The plank barely touches it.
So progression isn't about holding longer. It's about three things: adding load, adding instability, and adding movement — turning a static brace into a brace that holds under exactly the conditions the bike imposes.
First, learn to brace with your breath
Before any progression, one thing has to be in place, and most cyclists skip it: the ability to create intra-abdominal pressure. A strong core isn't just muscular — it's a pressurised cylinder, and the pressure comes from how you breathe and brace.
The drill is simple. Lie on your back, knees bent. Breathe into your belly and your lower ribs — 360 degrees, not just lifting your chest. Now, without holding your breath, create gentle tension all the way around your midsection, as if you're about to be lightly prodded in the stomach. That's a brace. You should be able to breathe shallowly while maintaining it.
This matters because a core that can't pressurise leaks force, no matter how many reps you do. When you stand on the pedals for a climb, the brace is what keeps your pelvis a stable platform for your legs to push against. Get this wrong — breath held, or no tension at all — and every progression below is built on sand. Get it right, and ordinary movements start working harder, because you're finally connecting the trunk to the effort.
Derek Teel makes the point repeatedly about gym work for cyclists: competency before load. Core training is no exception. The brace is the competency. Earn it first.
The anti-rotation progression
This is the heart of it. Anti-rotation work resists twist, which is the bike's dominant core demand. The Pallof press is the entry point — and it has a long ladder above it.
Level 1 — Pallof press hold. Band or cable at chest height, stand side-on, press it straight out and hold. The band wants to rotate you; you refuse. Build to a controlled 30 seconds each side.
Level 2 — Pallof press with reach. Press out, then reach the hands further from your chest and back, increasing the lever the band pulls on. The further the reach, the harder your obliques fight. Slow and deliberate.
Level 3 — Half-kneeling Pallof. Drop to one knee. Now your base is narrower and your hips can't help — the trunk does all the work. This is also a far better match for the upright, braced position you ride in than lying on the floor. Switch the down knee each set.
Level 4 — Pallof walkout. Press the band out and take two or three small steps away from the anchor, increasing tension, then step back. You're now resisting rotation while moving — the exact combination the bike asks for.
Level 5 — Half-kneeling cable or band chop. A controlled diagonal pull from high to low (and low to high), resisting the rotation the whole way. This is anti-rotation with movement and load together, and it's as close to the pedalling demand as floor and cable work gets.
Progress one level every two or three weeks, once the current one feels controlled — not when it feels easy, when it feels controlled. Three sets of eight to ten quality reps per side beats fifteen rushed ones every time.
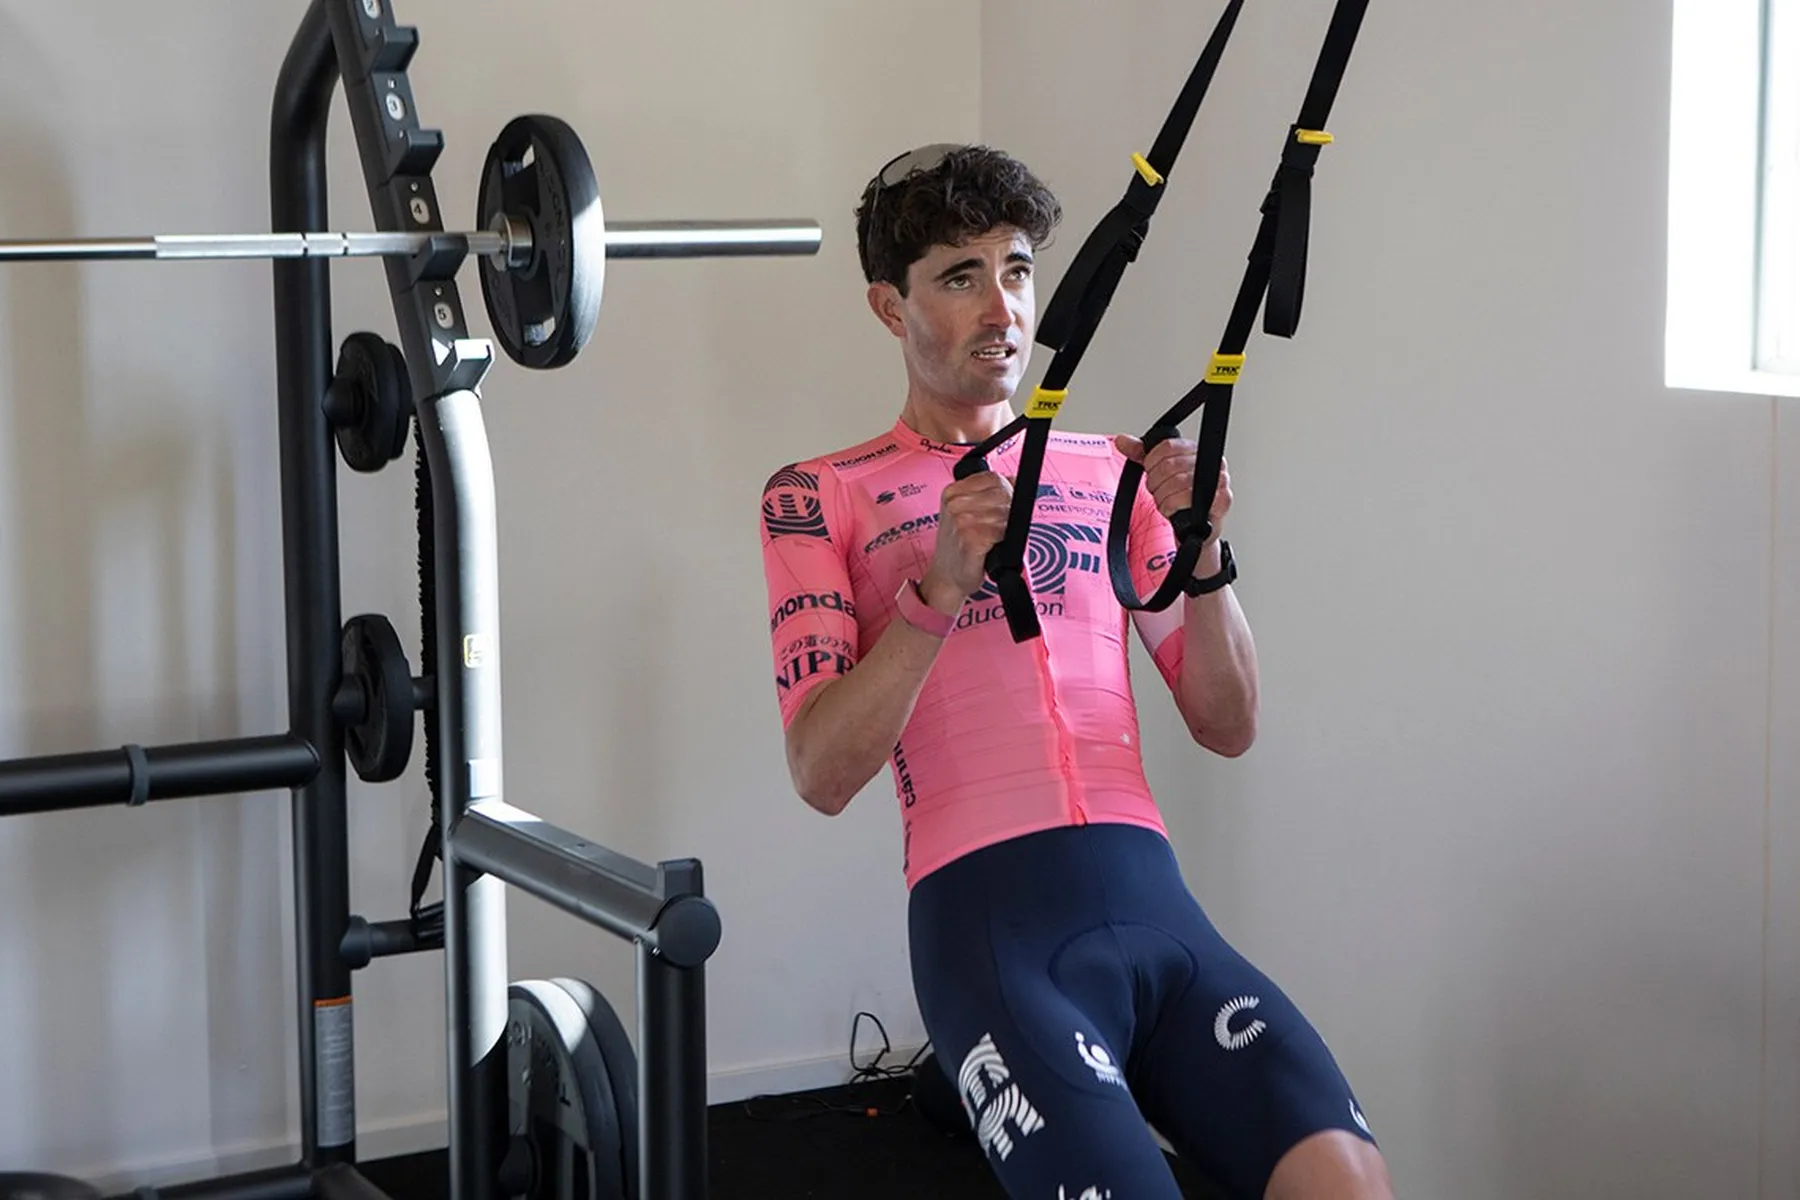
Standing and loaded: carries
If there's one underused core tool for cyclists, it's the loaded carry. Pick up a heavy weight, brace, and walk. It's anti-everything at once — anti-rotation, anti-lateral-flexion, anti-extension — under real load, in a standing position, while you move. It builds exactly the kind of grinding, hold-it-together stability that fails late in a long ride.
Suitcase carry. Hold a single heavy dumbbell or kettlebell in one hand and walk 20-30 metres, staying perfectly upright — no leaning away from the weight. The load tries to bend you sideways; your obliques and quadratus lumborum refuse. This is the lateral hip drop that wastes watts on the bike, trained directly. Switch hands and repeat.
Front-rack carry. Hold weight at your chest and walk tall. The load pulls you into extension; you brace against it.
Two or three sets of a 20-30 metre walk each. Carries cost almost nothing to programme and they transfer better than most floor exercises precisely because you're standing, loaded, and moving — the conditions of actual riding.
Dynamic anti-extension: progressing the dead bug
The dead bug is the best floor exercise for cyclists because it trains anti-extension while the limbs move independently — the pedalling pattern, lying down. But it, too, has a ladder.
Level 1 — bodyweight dead bug. Lower back pressed to the floor, extend opposite arm and leg slowly. The moment your back arches, you've lost it.
Level 2 — weighted dead bug. Hold a light dumbbell in each hand or add a band pulling your arms overhead, so you're resisting more extension force.
Level 3 — dead bug with a slow tempo and a pause. Three seconds out, two-second hold at full extension, three seconds back. Time under tension does the work.
Level 4 — hollow hold and hollow rocks. A full-body anti-extension hold, then a controlled rock. This is gymnastics-grade trunk tension and a serious step up.
The progression principle is identical to anti-rotation: more load, more instability, more time under tension — never just more reps.
A weekly structure that progresses
Three sessions a week, 12-15 minutes each, after easy rides or standalone. Don't do core work before a hard ride — a pre-fatigued core compromises the session you actually care about.
A sample session once you're past the foundation:
| Movement | Sets | Reps / Time | Axis trained | |---|---|---|---| | Half-kneeling Pallof press | 3 | 8 each side | Anti-rotation | | Suitcase carry | 3 | 25m each side | Anti-lateral-flexion | | Weighted dead bug | 3 | 8 each side | Anti-extension | | Side plank with reach-through | 3 | 8 each side | Anti-lateral-flexion + rotation | | Half-kneeling cable chop | 2 | 10 each side | Anti-rotation + movement |
Every two to three weeks, push one progression — a heavier band, a harder variation, a slower tempo. Keep a rough note of where you are, the same way you'd log a power number. Core training drifts into "I did some core" precisely because nobody tracks it, and untracked work doesn't progress.
What this fixes on the bike
The point of all this isn't a six-pack. It's the rider who holds form in the final hour while everyone around them starts rocking, dropping a hip, and bleeding watts through a sloppy trunk. The riders who finish strong on a long sportive aren't always the fittest aerobically — often they're the ones whose core hasn't checked out, so more of their leg power is still reaching the pedals at hour four than at hour one.
It also protects the part of the body cycling punishes most. A core that can brace and resist rotation takes load off the lower back — and lower back pain is the second most common complaint cyclists bring us, right behind the knees. Stronger, smarter trunk work is some of the best back-pain insurance you can buy, and it costs you fifteen minutes three times a week.
This kind of progressive core work — tracked, advanced, integrated with the rest of your strength and your bike training — is exactly what we programme inside the Roadman community. If you've outgrown the plank and you're not sure what comes next, come and build the trunk that holds together at hour four.
Start with the foundation core routine if these progressions are ahead of where you are, pair this with the best gym exercises for cyclists for a complete S&C programme, and see the over-40 strength guide for how it all fits the masters rider.