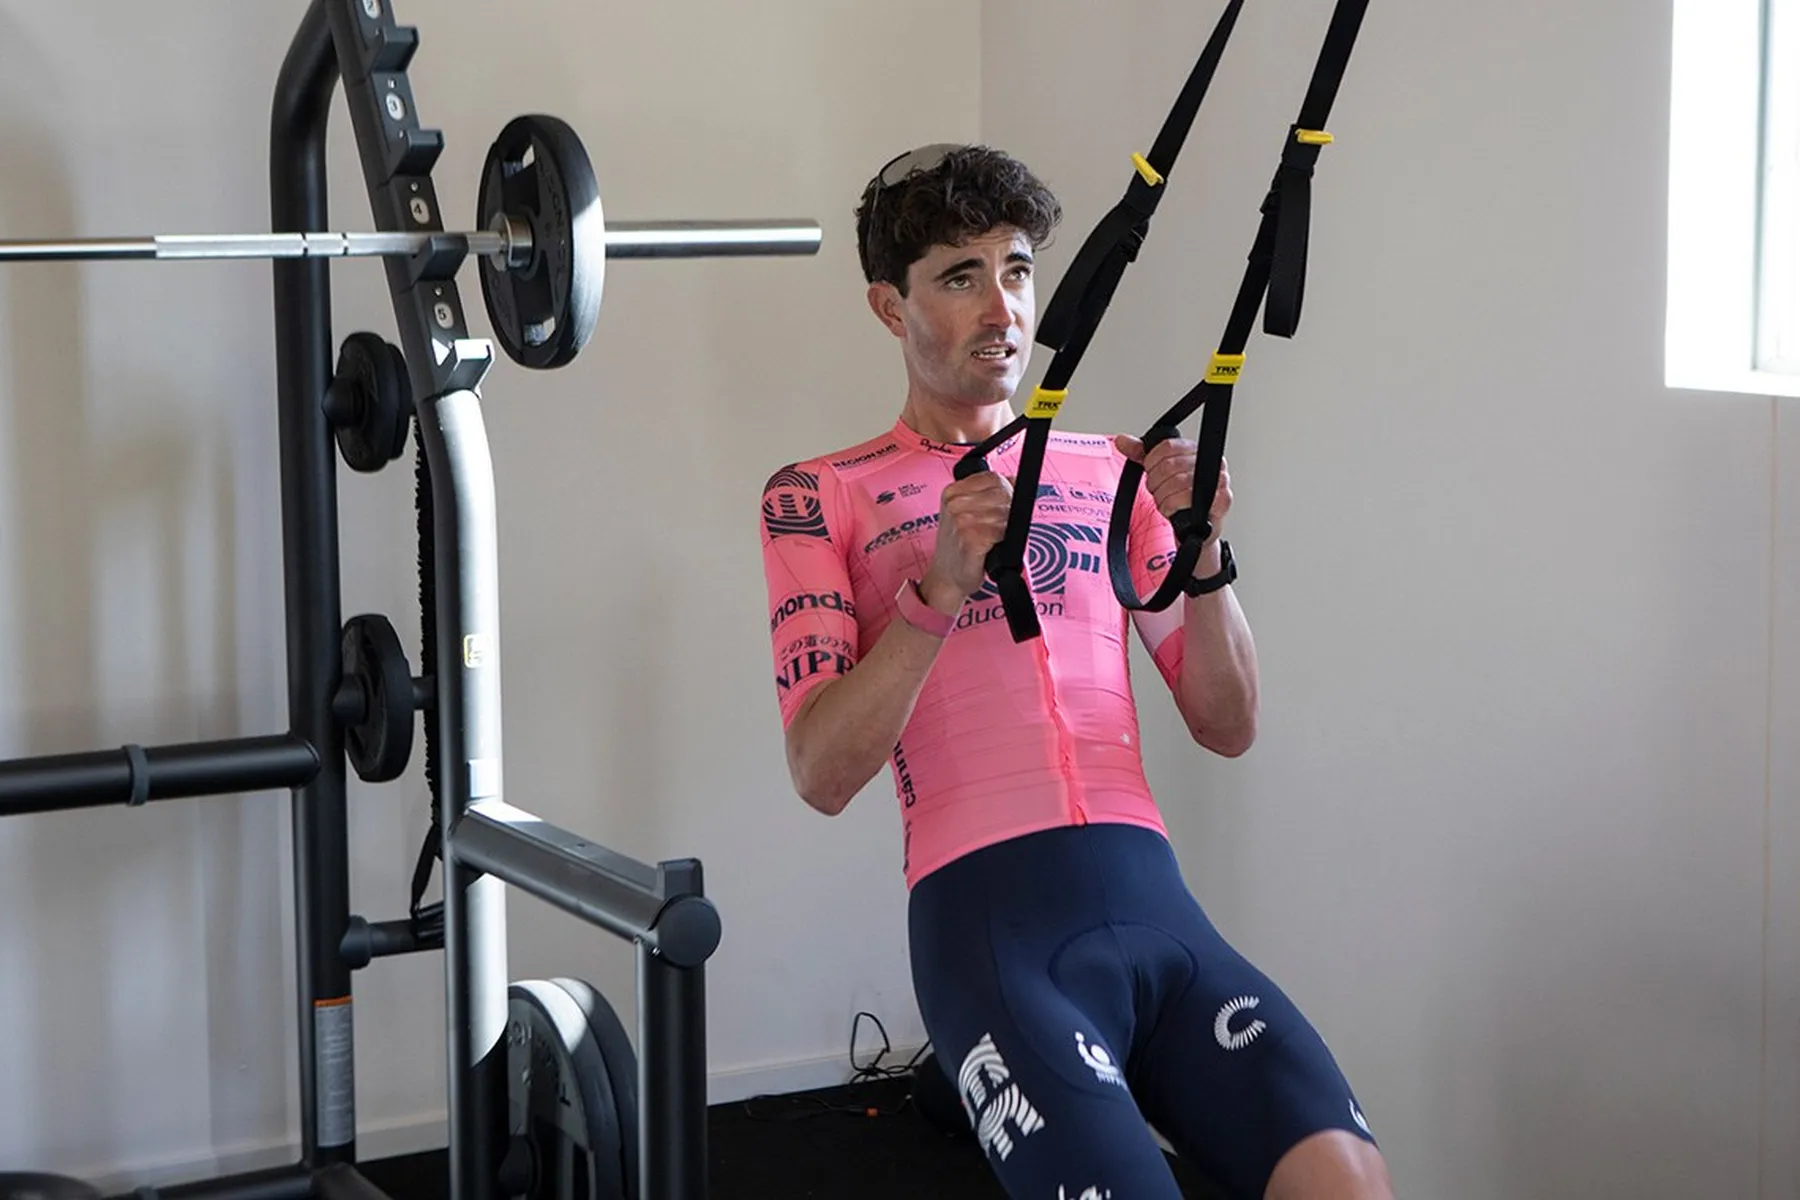
Nobody tells you this, but the gym is optional. What's not optional is the strength work itself.
Most cyclists who skip strength training do it because they don't have a gym membership, don't want one, or tried a gym programme once, found it tedious, and stopped going after three weeks. Completely reasonable. The problem is they then do nothing — no leg strength work at all — and spend years wondering why they plateau every spring and pick up the same knee niggles every autumn.
The other lot have gym memberships they use religiously for about eight weeks before life intervenes. A work trip. A cold. A family holiday. The momentum breaks and never comes back. The gym card sits in a drawer gathering dust, and so does the strength programme.
There's a third option that almost nobody talks about. Bodyweight exercises. Resistance bands. A step. A chair. Twenty minutes, twice a week, in your kitchen or garage. No commute to a gym. No waiting for equipment. No monthly fee. And — here's where it gets really interesting — the exercises you can do at home are often more cycling-specific than what most riders do in a gym anyway.
What cycling-specific leg strength actually means
Cycling strength is not about how much load you can shift. It's about how much force you can produce through a specific range of motion, at a specific speed, thousands of times per ride.
Your knee extends from roughly 90 degrees to 170 degrees during each pedal stroke. Your hip extends simultaneously. The whole thing happens under moderate load at a rate of about 80-100 times per minute. That's the movement pattern you need to be strong in. Not a bilateral push against maximum resistance. Not a slow grind through a range of motion your legs never see on the bike.
This is why a lot of traditional gym programming misses the point for cyclists. Heavy bilateral movements train maximum force production through a full range of motion. That's useful for rugby players and sprinters. For cyclists, what matters is force production in that 90-170 degree arc of knee extension, driven primarily by the quads and glutes, stabilised by the hip and trunk, and repeated under fatigue for hours.
Single-leg exercises match this better than bilateral ones. Variable resistance — which is exactly what bands provide — matches the force curve of the pedal stroke, where force peaks through mid-range. And plyometric work develops the neuromuscular recruitment speed that shows up in your sprint power and high-cadence efficiency.
You can train all of this without touching a barbell. Without a gym membership. Without leaving your house.
The bodyweight foundation
Three bodyweight exercises form the backbone of any home leg strength programme for cyclists. Get these right and you've covered 80 per cent of what matters.
Bulgarian split squat
If you only do one exercise from this entire article, make it this one.
The Bulgarian split squat loads the quads and glutes through a cycling-relevant range of motion, challenges hip stability, and — critically — exposes left-right imbalances that bilateral exercises hide completely. Every cyclist has a stronger leg. Most don't know which one it is until they do single-leg work.
How to do it: Stand about two feet in front of a chair, couch, or bench. Place the top of your rear foot on the surface behind you. Lower your body by bending the front knee until the front thigh is parallel to the ground or just below. Drive back up through the heel and midfoot of the front leg. That's one rep.
Common mistakes: Leaning forward and turning it into a hip-dominant movement. Letting the front knee cave inward. Pushing off the rear foot instead of driving through the front leg. If any of these happen, you're compensating — reduce the range and rebuild.
Programming: 3 sets of 8-12 reps per leg. Bodyweight only for the first four weeks. Once you can do 3 x 12 with control and no wobble, hold a loaded rucksack or a pair of dumbbells. Rest 90 seconds between sets.
Derek Teel — strength and conditioning coach who's worked with pro cyclists for years — puts the Bulgarian split squat at the top of every programme he writes for riders. The reason is simple: cycling is a single-leg sport, and this is the single best single-leg exercise for the muscles that drive the pedal stroke.
Step-up
The step-up is mostly concentric — meaning you're doing the work on the way up, not braking on the way down. That means less muscle damage, less soreness, and faster recovery compared to exercises with a heavy eccentric phase. Useful when you've got a hard ride planned within 48 hours.
How to do it: Find a step, bench, or sturdy box roughly 30-40cm high. Step onto it with one foot, driving through the heel and midfoot. Bring the trailing leg up without pushing off the ground with it — the working leg does all the work. Step down with control. That's one rep.
The key cue: Don't cheat. The moment you push off the floor with the trailing foot, you've turned a single-leg exercise into a bilateral one and you've defeated the purpose.
Programming: 3 sets of 10-12 per leg. Bodyweight first, then holding dumbbells or a rucksack. Rest 60-90 seconds between sets.
Pistol squat progression
The full pistol squat — a single-leg squat with the free leg extended in front — is a demanding movement that most people can't do on day one. That's fine. The progressions are where the value is.
Progression ladder:
- Assisted pistol (Week 1-4): Hold a door frame, TRX strap, or sturdy table leg for balance. Lower as far as you can on one leg. Use the hand support to help you back up. Gradually reduce how much you lean on the support.
- Box pistol (Week 4-8): Sit down onto a chair or low bench on one leg, then stand back up on one leg. Lower the seat height as you get stronger.
- Full pistol (Week 8+): Freestanding, full range, no support.
Most cyclists will live between stages one and two, and that's perfectly fine. The quad strength, hip stability, and ankle mobility you build in the progressions is where the cycling transfer happens. Getting a perfect Instagram-worthy pistol squat is irrelevant.
Programming: 2-3 sets of 5-8 per leg at whatever progression stage you're at. This is a skill-strength hybrid — fewer reps, more focus on control.
Resistance band exercises for cyclists
Bands are underrated in cycling strength circles, and it's a shame. They provide variable resistance — light at the bottom of the movement where you're weakest, heavy at the top where you're strongest. That mirrors the force curve of the pedal stroke more closely than fixed weights do.
A set of looped resistance bands in light, medium, and heavy resistance costs about £15-20 and fits in a jersey pocket. No excuses.
Banded step-up
Take the step-up from earlier and loop a band under the working foot and over your shoulders. Now the exercise gets harder as you extend — exactly like the pedal stroke gets hardest through the power phase.
Programming: 3 sets of 8-10 per leg with a medium band. The band should make the last 2-3 reps of each set properly challenging. If it doesn't, go heavier.
Banded hip thrust
Your glutes are the biggest power producer in cycling and the most chronically underactive muscle group in most riders. Sitting at a desk all day shuts them down. Then you ride for hours in a hip-flexed position that doesn't fully activate them. The result: your quads do the work your glutes should be doing, and you leave watts on the table.
How to do it: Sit on the ground with your upper back against a bench or couch. Loop a band across your hips, anchoring each end under your feet. Drive your hips up until your torso is parallel to the ground. Squeeze the glutes hard at the top. Two-second hold. Lower with control.
Programming: 3 sets of 12-15. Two-second squeeze at the top of every rep. The higher rep range is intentional — the glutes respond well to volume, and the band provides enough resistance to make 15 reps challenging without creating excessive fatigue.
If you've read the glute activation guide, you'll know that glute activation drills alone aren't enough. You need to load them through range. The banded hip thrust does exactly that.
Banded lateral walk
This one doesn't look like much. You'll feel ridiculous doing it. And it's one of the most important exercises in this entire programme.
Your gluteus medius — the muscle on the outer side of your hip — stabilises your pelvis during every single pedal stroke. When it's weak, your hips rock side to side, your knees track inward, and force leaks out of the system. ITB problems, medial knee pain, saddle sores from excessive pelvic movement — all of these trace back to weak hip stabilisers.
How to do it: Loop a light band around your ankles (or just above your knees for an easier option). Stand in a quarter-squat position. Take 10-15 sideways steps to the left, maintaining tension on the band the entire time. Then 10-15 to the right. Keep your toes pointing forward throughout — no duck-walking.
Programming: 2-3 sets of 15 steps each direction. Light band. This is an activation and endurance exercise, not a strength one. The burn should build through the set. If it doesn't, the band is too light.
Terminal knee extension (TKE)
Your vastus medialis oblique — the teardrop-shaped quad muscle on the inside of your knee — is critical for knee tracking and for the final degrees of knee extension that happen near the bottom of the pedal stroke. When it's weak relative to the outer quad, the kneecap doesn't track properly. Knee pain follows.
How to do it: Anchor a band around a sturdy object at knee height. Step into the band so it wraps behind your knee. Step back to create tension. Start with a slightly bent knee and extend fully against the band's resistance. Slowly return to the start. That's one rep.
Programming: 3 sets of 15 per leg. Light to medium band. This is a precision exercise — full control, no rushing. Pause at full extension for one second.
If you're dealing with patellofemoral pain or anterior knee pain on the bike, TKEs combined with single-leg strength work are often the most effective intervention before anything more complicated gets considered.
Plyometric work: why and how
Plyometrics sound aggressive. Box jumps, bounding, hopping — it conjures images of CrossFit and torn Achilles tendons. But here's where the science has finally caught up with what smart coaches have known for years: controlled, low-volume plyometric work is one of the fastest routes to improved neuromuscular recruitment in cyclists.
When you sprint, your muscles need to recruit as many motor units as possible, as fast as possible. When you ride at high cadence, your neuromuscular system needs to fire and relax muscles rapidly through the pedal cycle. Plyometric training develops exactly this quality — the speed of force production, not just the amount.
Bent Ronnestad's research group has shown that explosive strength training improves cycling economy and five-minute power in well-trained cyclists. The effect comes from faster motor unit recruitment and improved intermuscular coordination — your muscles learn to work together more efficiently.
The dose is small. Two sets of 5-8 reps. Twice a week. That's it. More than that and you're creating fatigue that eats into your riding.
Box jump
Progression:
- Week 1-3: Box step-up with a pop. Step up onto a low box (20-30cm), drive through the front foot with enough force to briefly leave the surface. Land softly on the box. Step down. This teaches the explosive hip extension pattern without any impact.
- Week 3-6: Low box jump. Stand in front of a 30cm box. Quarter-squat, swing the arms, jump up, and land softly on the box with both feet. Step down — don't jump down. The landing on top of the box is what matters.
- Week 6+: Standard box jump. Increase box height to 40-50cm. Same protocol. Always step down.
Programming: 2 sets of 5-6 jumps. Full recovery between reps — 10-15 seconds. Full recovery between sets — 2-3 minutes. This is not a cardio exercise. Each jump should be maximal effort with perfect landing mechanics.
Single-leg bound
Stand on one leg. Drive forward into a long, controlled hop, landing on the opposite leg. Stabilise, then drive off that leg into the next bound. Think of it as exaggerated running in slow motion.
Programming: 2 sets of 5 bounds per leg. Focus on height and distance, not speed. Each landing should be controlled — if you're stumbling, the exercise is too advanced. Go back to standing single-leg hops on the spot.
Ankle bounce
The simplest plyometric drill, and a useful one for calf stiffness and Achilles tendon health. Stand tall, feet hip-width. Bounce up and down using only ankle extension — minimal knee bend. Stay stiff through the hips and knees. Think pogo stick.
Programming: 2 sets of 15-20 bounces. Light, springy, rhythmic. If your calves scream the next day, you went too hard. Build into it over two weeks.
The 20-minute twice-a-week programme
This is the minimum effective dose. Three exercises per session, 20-25 minutes including warm-up. Alternate between Session A and Session B.
Session A — quad and push dominant
- Warm-up (3 min): Leg swings (front-to-back and side-to-side), 10 per leg. 10 bodyweight squats. 10 banded lateral walks each direction.
- Bulgarian split squat — 3 x 10 per leg. Rest 90 seconds between sets. Bodyweight or loaded rucksack.
- Banded step-up — 3 x 10 per leg. Rest 60 seconds. Medium band.
- Box jump — 2 x 5. Full recovery between reps and sets.
Total time: 20-22 minutes.
Session B — hip and posterior chain dominant
- Warm-up (3 min): Banded lateral walks, 15 each direction. Hip circles, 10 each direction. Ankle bounces, 15.
- Step-up — 3 x 12 per leg. Rest 60 seconds. Bodyweight or dumbbells.
- Banded hip thrust — 3 x 15. Two-second squeeze at top. Rest 60 seconds.
- Single-leg bound — 2 x 5 per leg. Full recovery.
Total time: 20-22 minutes.
Run these on a rotating schedule — Monday and Thursday, or Tuesday and Friday, or whatever fits your week. The specific days don't matter. What matters is that you do them consistently and space them at least 48 hours apart.
After 6-8 weeks, add TKEs as a knee-health prehab exercise at the end of Session A, and pistol squat progressions at the start of Session B before the step-ups. That extends each session to 25-28 minutes.
Progression: how to make bodyweight exercises harder
The biggest objection to bodyweight training is that you'll outgrow it. You'll get too strong. The exercises will become too easy.
First: that takes longer than you think. A bodyweight Bulgarian split squat, done properly with full range and control, is challenging for the vast majority of amateur cyclists for months.
Second: there are clear progressions that don't require a gym.
Add external load
A rucksack loaded with books, water bottles, or bags of rice works perfectly. Start with 5kg and add 2-3kg every two weeks. A pair of adjustable dumbbells up to 20kg covers more progression than most cyclists will ever need.
Slow the eccentric
Take 4-5 seconds on the lowering phase of each rep. This dramatically increases time under tension and makes a bodyweight exercise feel like a loaded one. A 5-second eccentric Bulgarian split squat with bodyweight only is harder than most people expect.
Add a pause
Pause for 2-3 seconds at the bottom of split squats and step-ups. This removes the stretch-shortening cycle — the bounce out of the bottom — and forces your muscles to produce force from a dead stop. Exactly what you do on every pedal stroke at low cadence.
Increase range of motion
Elevate the front foot on a small plate or book for split squats. This deepens the knee and hip flexion at the bottom of the movement. Use a higher box for step-ups. Deeper pistol squat progressions.
Add bands
Loop a resistance band around your back and hold the ends in your hands during push-ups. Stand on a band during step-ups. The variable resistance makes the top of each movement harder without increasing load at the bottom where joint stress is highest.
Reduce stability
Stand on a folded towel or cushion for single-leg exercises. This forces the stabiliser muscles to work harder and transfers directly to the hip and knee stability you need during the pedal stroke — particularly at high power outputs when technique tends to break down.
When to do strength work in relation to riding
Timing matters more than most riders realise. Get it wrong and your strength work sabotages your riding. Get it right and the two amplify each other.
The simple rule: never do strength work the day before a hard ride. Hard ride meaning intervals, a race, a long ride with a group, or anything where you need your legs to perform.
The ideal placements:
- After an easy ride. Short recovery spin, then straight into your 20-minute strength session. Your muscles are warm, your schedule is efficient, and the easy ride doesn't create fatigue that compromises your lifting form.
- On a rest day. If your strength session is the only training you do that day, you can go slightly harder on the exercises. This works well if you ride four days a week and have two midweek rest days.
- Morning strength, evening ride (or vice versa). If you must double up, put 6-8 hours between sessions and make the ride easy. This is a sub-optimal compromise but still beats skipping the strength work entirely.
What to avoid:
- Strength work the morning before an evening interval session. Your legs will be blunted.
- Strength work the day before a race or group ride. You'll start pre-fatigued.
- Strength work on back-to-back days. The muscles need 48 hours to adapt.
During race season or a heavy training block, drop to one session per week and reduce volume — 2 sets instead of 3, same exercises. You're maintaining strength, not building it. The off-season and early base phase are where you build. The training readiness score can help you decide whether a given day is suited for strength work or recovery.
Common mistakes
Going too hard too fast
The single biggest reason home strength programmes fail. A rider does their first session, feels great, cranks out sets until their legs are destroyed, and can't walk for three days. The next ride feels terrible. They conclude that strength training doesn't work for them.
Start conservatively. Leave 3-4 reps in reserve for the first two weeks. The purpose of the first fortnight is to teach your body the movement patterns and let the connective tissue adapt, not to chase muscle failure. Build intensity gradually.
Neglecting single-leg work
Bilateral exercises are easier to do and feel more satisfying. You feel stronger doing them. You can move more load. But they hide the very imbalances that cause cycling injuries and power leaks.
If your left leg is 15 per cent weaker than your right — which is common in cyclists — bilateral exercises let the strong side compensate. You never notice. The imbalance persists. It shows up as knee pain on the weaker side, or a consistent hip drop in your pedal stroke that your bike fitter keeps trying to fix with cleat shims.
Single-leg exercises force each leg to work independently. The weak side can't hide. You notice the difference immediately. And over 8-12 weeks of consistent single-leg work, the gap closes.
Skipping hip stability
The lateral walk, the TKE, the single-leg balance work — these exercises don't feel impressive. You won't be sore after doing them. They don't look good on social media. And they are absolutely essential.
Hip stability is what keeps your pelvis level during the pedal stroke, prevents your knees from tracking inward, and protects the IT band and medial knee structures from overload. Without it, the quad and glute strength you build won't transfer efficiently to the bike because force is leaking out through an unstable hip.
Spend three minutes per session on lateral walks and single-leg balance. Three minutes. That's the investment. The return is a stable platform from which your big muscles can actually do their job.
Training like a bodybuilder
Sets of 15-20 reps to failure. Supersets. Drop sets. Minimal rest. These are hypertrophy techniques designed to make muscles bigger. Cyclists don't need bigger muscles. They need stronger muscles that fire faster.
The rep ranges in this programme — 5-12 reps for strength movements, 12-15 for activation exercises, 5-8 for plyometrics — are chosen specifically for neuromuscular adaptation, not hypertrophy. The rest periods are long enough for quality reps. The volume is low enough that recovery doesn't compete with your riding.
Consistency is the programme
The rider who does three bodyweight exercises twice a week for 40 weeks will be measurably stronger, more resilient, and faster on the bike than the rider who follows a complicated gym programme for 8 weeks before letting it slip.
This programme is designed to be frictionless. No commute. No equipment beyond a band and a step. No session longer than 25 minutes. Nothing that requires a spotter, a rack, or a membership card.
The best programme is the one you actually do. This one is designed to be that programme.
If you're not sure where your current strength sits relative to where it needs to be, the body composition tool gives you a baseline, and the masters recovery score helps you manage fatigue as you add strength work to your training load.
For a structured approach to building the strength that transfers — including how to periodise it around your riding across a full season — the strength training transfer guide covers the full picture. And if you want to talk through how this fits your specific week, what to prioritise, and how to structure the progression, the Roadman community on Skool is where those conversations happen daily.